Need something in the meantime? Just contact your nearest branch and they’ll be happy to help
Need something in the meantime? Just contact your nearest branch and they’ll be happy to help
CT1
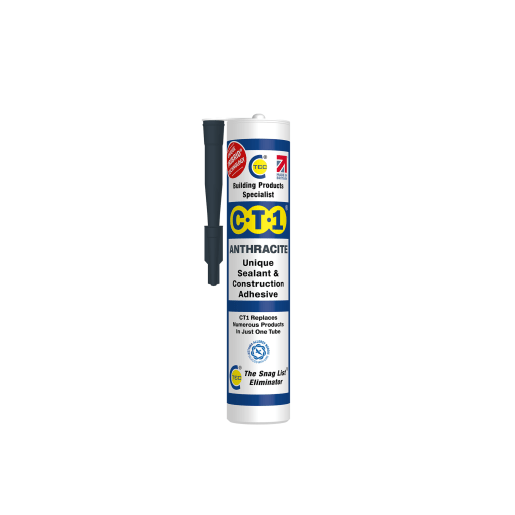
The number 1 sealant and adhesive. British design, British made with British technology. The ultimate development in bonding and sealing, based on unique TRIBRID® technology.
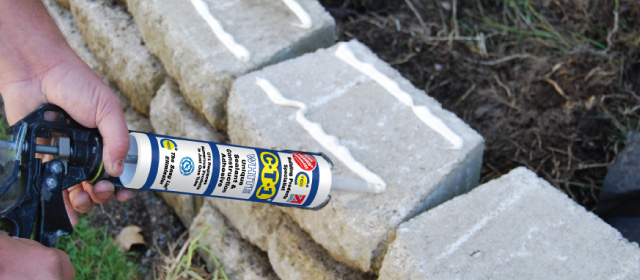 Why choose CT1?
- CT1 replaces mastic, wood, and PU adhesives, silicone, sanitary, acrylic, and butyl rubber sealants in just one product
- No solvents, so will not shrink or crack
- Norwegian Asthma and Allergy Associations accreditation
- Odourless
- Can be used in adverse weather conditions
- Elongation 350%
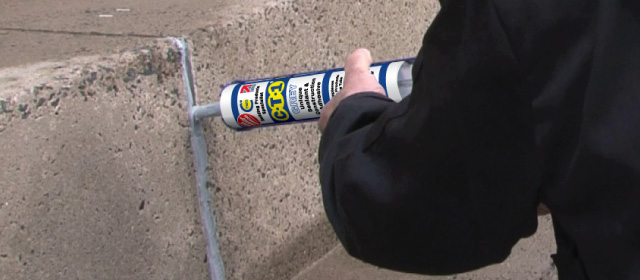 The benefits of CT1
- Bonds brick to stone, can bond most substrates
- Can be used on PVC and glass
- Can be painted over, and structured
- Can be used as a filler
- Fully cured can withstand temps of -40ºC
- Very high tensile resistance and bond of 2.9 N/mm²
The product range
CT1 is the only product in the market with TRIBRID® technology, making it 360% stronger than a traditional Hybrid Polymer. With TRIBRID® technology, it is scientifically proven to have excellent colour retention.
Shop the CT1 range
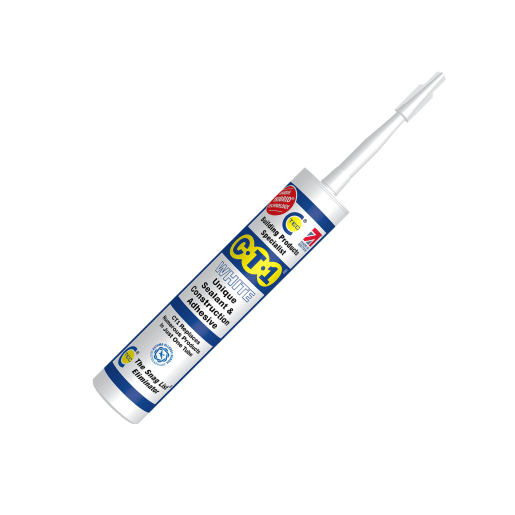
SKU: EQFAPH09
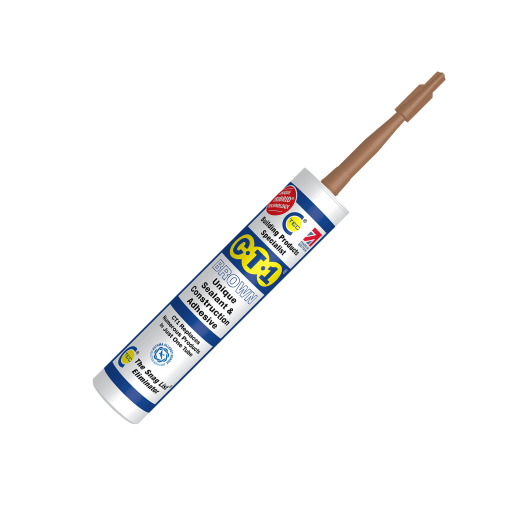
SKU: EQFAPH12
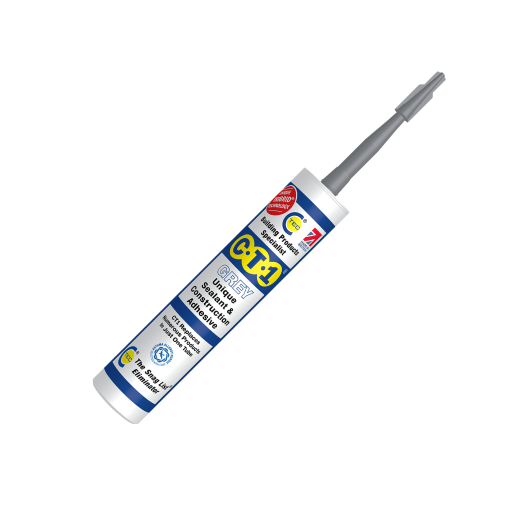
SKU: EQFAPH11
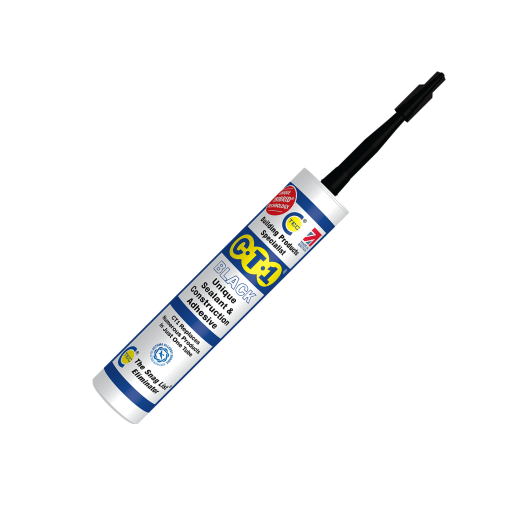
SKU: EQFAPH10
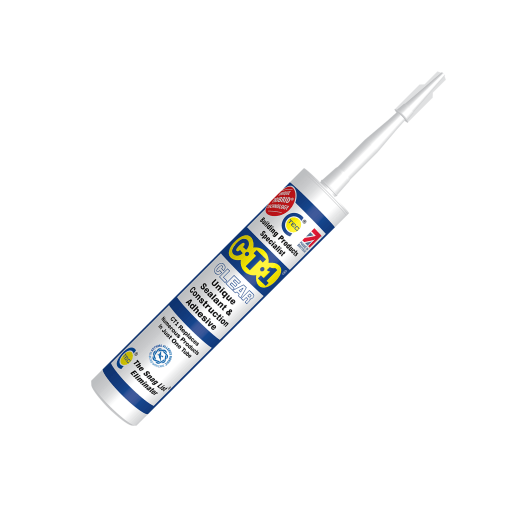
SKU: EQFAPH13
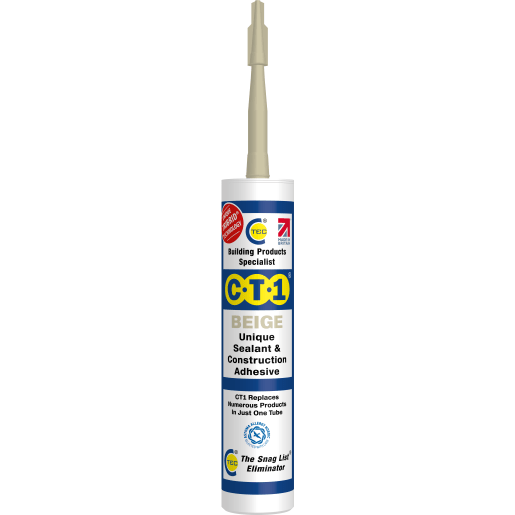
SKU: EQFAPH17
SKU: EQFAPH18
More from CT1
When looking for the perfect adhesive to glue wood to metal, it can be difficult to pinpoint which is the best for the job. Timber is a porous material that expands and contracts. Therefore, if you need to bond metal to wood, you need a strong adhesive that can bond both materials while remaining flexible at the same time.
In this article, we’ll take a closer look at how you can bond wood to metal using a construction adhesive called CT1.
Can you stick wood to metal?
The short answer is yes, you can bond wood to metal with adhesive. CT1 is perfect for this due to its strong nature.
CT1 is a revolutionary construction adhesive that uses TRIBRID® Technology to create 360% stronger bonds than traditional hybrid polymers. This incredible bonding technology is found exclusively in C-Tec’s range of adhesives such as CT1 and BT1, the ultimate bathroom sealant. It offers a unique adhesion on almost any material. You can use CT1 to bond wood and metal without needing any additional fixings. You won’t need a drill, nails, or other types of support to secure the bond.
Why is it difficult to bond wood to metal?
Traditional adhesives struggled to bond wood to metal because they had poor strength and lacked the flexibility needed. Wood is very porous, so it easily expands and contracts and is less dense than metal. It’s also not feasible to use nails to attach wood to metal because the nail would struggle to penetrate the metal’s tough surface. Using a strong adhesive to bond metal to wood is the best solution as it allows flexibility and strength, providing long-lasting results.
Benefits of CT1
CT1 has many benefits as discussed above. When it comes to bonding wood to metal, it provides a formidable initial grab, and a powerful bond is created between the two materials. It remains flexible, which allows movement between the wood and metal. It’s also water-resistant and contains no solvents.
CT1 is made in Britain and contains no isocyanates or odours. It even works well in wet or dry conditions, which again makes it the ideal adhesive for wood bonding applications. It’s UV resistant, which is great for the outdoors, and can withstand even the harshest of weather conditions. CT1 has excellent colour retention and resistance to chemicals.
Gutter leaks can be a hassle to fix, which is why you need a trustworthy gutter sealant in your arsenal to prepare for the unexpected. CT1 is the best sealant to use on gutters because it provides unique adhesion without the need for additional fixings. It is also water-resistant and weather-resistant.
CT1 is the only product in the market with TRIBRID® Technology, making it 360% stronger than a traditional hybrid polymer. It also has a high UV resistance which is ideal for using on gutters, as this area gets a lot of sun exposure. Not only that, but it has excellent vibration resistance and doesn’t crack or shrink over time. This is great news for homeowners who don’t want to re-visit the same gutter leak again and again.
It is odourless, contains no isocyanates, and offers unique flexibility not found in other sealants and construction adhesives (outside of the C-Tec range).
How to fix gutter leaks with CT1
Gutters are a crucial component of any home. Their main job is to collect and carry rainwater away to help prevent water damage to the roof and home. However, since gutters are exposed to all types of weather conditions, it’s common for them to develop leaks as a result of holes, cracks, and corrosion.
To repair a leaking gutter, you must first identify where the leak is coming from. You might discover the leak is coming from a gutter seam or corner joint. Once you have found the leak, it’s time to clean the gutter. Remove any debris such as dirt, leaves, twigs, etc and flush the gutter with a hose (if possible).
Once the gutter is clear and free from debris, you’re ready to start sealing the leak. Thanks to CT1’s water-resistance, you can use it in wet conditions, making it perfect for leaks. There’s no need to wait around until the sun comes out, you can simply apply the sealant with steady and consistent pressure. Press the materials together to fuse them in place and you’re done!
You can bond wood to brick easily with CT1 construction sealant and adhesive. Sticking wood to brick can be a difficult task if you don’t use the right adhesive. Firstly, wood is porous, which means the adhesive you use must be flexible enough to expand and contract with the wood, without losing its initial bonding strength.
Brick isn’t the easiest material to work with either, and unless you want to spend all day with a hammer in one hand, and nails in the other, you need to use a strong adhesive. The CT1 construction adhesive has a proven track record of bonding wood to brick effectively.
Why should I use CT1 to bond brick and wood?
CT1 is a fantastic and ground-breaking construction adhesive and sealant. Unlike traditional hybrid polymers, CT1 is made in Britain with TRIBRID® Technology, making it 360% stronger than other polymer adhesives. But that’s not all! Here are just a few reasons to use CT1 adhesive to bond wood to brick:
- It creates a unique adhesion to wood and brick without the need for extra fixings, fastenings, or support
- CT1’s long lifeline and excellent colour retention means you can won’t need to re-seal as often
- CT1 is one of the few construction adhesives on the market that has been approved by the Norwegian Asthma and Allergy Association (NAAF)
- You don’t have to worry about strong or potentially dangerous odours because this sealant is odourless
- CT1 doesn’t contain any solvents or isocyanates
- It is a flexible adhesive, meaning it can move with the materials, without sacrificing the power of its hold
- CT1 works well in dry or wet conditions, so there’s no need to wait until the materials are 100% dry before application
- CT1 has moderate resistance to fungal and bacteria growth (for C-Tec’s most powerful anti-mould sealant, check out BT1)
How to bond wood to brick
The first step is to clean the brick surface and the wood. To do this, you can use a cloth or broom. Try to remove the dirt and the debris so that the adhesive fuses to the brick and wood, and not the dirt settled into the brick. Next, apply CT1 sealant to the wood and/or brick, before fusing the two. CT1 is a fast-acting sealant and adhesive, making it a much more time-saving solutions than regular hammer and nails.
Kitchen marble worktops are a popular choice for modern-day kitchens and floors. Bonding marble worktops to wood doesn’t have to be difficult. If you choose the right construction adhesive, you can easily bond marble kitchen worktops to wood in no time. Whether you’ve always wanted sleek, marble countertops or you’re a tradesperson who needs to install marble worktops for a job or project, there is one construction adhesive to bond marble to wood that outshines the rest.
What adhesive will bond marble to wood?
CT1 is the best sealant and adhesive for bonding marble to wood. CT1 is a revolutionary construction sealant and adhesive that has been a long-standing favourite amongst professional tradespeople and DIY enthusiasts alike.
Why is CT1 the best sealant to bond marble to wood?
CT1 is the only product in the market with TRIBRID® Technology. This unique technological advancement has swept the industry by storm because it is 360% stronger than other hybrid polymers. This means that it is more than strong enough to bond marble kitchen worktops to wood. Not only that, but it also bonds glass, metals, mirrors, fiberglass, concrete, tiles, and most stones. This makes CT1 the best kitchen sealant for renovations, home improvement jobs, and general kitchen maintenance.
How to bond marble worktops to wood
Bonding marble to wood requires a very strong construction adhesive. Wood is a very porous material, so it needs a water-resistant sealant that won’t crack or shrink over time. Marble, on the other hand, is a metamorphic rock that consists of recrystallised carbonate materials. It’s an expensive material to use for kitchen worktops and one of the most desired for use in modern homes. Such an expensive investment requires the best possible adhesive to ensure long-lasting and high-quality results.
To bond marble worktops to wood cabinets, you need to make sure the wood can hold the weight of the marble worktop. It’s also important to start the job with a clean surface. Make sure there is no debris, sawdust, or dirt on the surface of the wood before adhesion. Once satisfied, simply apply CT1 sealant like you would any other sealant using a caulking gun. Once applied, it’s time to fit the marble worktops on top of the wooden counters. Press firmly to help the materials adhere properly.
It won’t take a large amount of CT1 adhesive to bond marble to wood. It is a very strong construction sealant built to handle professional jobs such as this. CT1 contains no solvents and has unique flexibility. It can also be painted, which makes it perfect for sealing, as you can paint it any colour of your choice afterward.
Installing a backsplash in your kitchen can help protect the walls from water damage. It’s also a decorative way to add some personality or colour to the room. The best part is that it’s easy to install kitchen backsplash using a powerful waterproof sealant, such as CT1 from C-Tec.
CT1 is a unique sealant that has immense strength and power. It is water-resistant and can be used to bond a number of materials including concrete, tiles, glass, mirror, wood, metals, brick, and many more. This makes it a great sealant for installing backsplashes in rooms such as kitchens and bathrooms.
What is a kitchen backsplash?
The term 'kitchen backsplash' refers to the tiles on the wall between the countertop and the cabinets. It usually covers the length of the countertop and adds a lot of character to an otherwise plain kitchen.
While a kitchen backsplash can have aesthetic purposes, it’s mainly used to fulfil a functional purpose. As you probably know, kitchens tend to get messy, fast. After all, it’s where all the cooking is done and if you have kids in the home, you’re probably spending a lot of time cleaning after them! The kitchen backsplash helps to protect the wall against water damage, which is why you’ll often see it on the wall behind the sink area. It’s also commonly found behind the cooker area and protects the wall against splashes from a boiling pot, for example.
The kitchen backsplash not only protects against water but also helps to protect against grease and other substances. If you want to install a kitchen backsplash, you’ll need to use a high-quality water-resistant sealant and adhesive. This is where CT1 construction sealant and adhesive comes in.
Install backsplash with CT1
Once you’ve decided what tiles you’d like to use and you’ve measured the area and have ordered the correct number of tiles for the job, you’re ready to start! First, you need to clear the area and start cleaning. Like most sealants, CT1 works best when applied to a clean surface. So, make sure there is no residue on the wall before application. Once the area is clean, take time to align the tiles and plan where you want to place them. Mark lines and points with a pencil to help keep the tiles straight.
Next, apply CT1 adhesive to the back of the tiles and place them on the wall carefully. A lot of tradesmen will advise that you work from the centre out, which is a great way to help keep the tiles level. When you’re done and the tiles are placed correctly, wipe away any excess adhesive. You can also use Multisolve from C-Tec, the creators of CT1, to remove any unwanted sealant or adhesive.
